
Setting up a team in Heroku is fairly straightforward, in this article we will be going over the step-by-step process of creating a Heroku team.
Introduction
To learn more about what Heroku is, please read our Heroku page
In this post, we will be creating the following:
- Heroku Account
- Heroku Team
- Manage Heroku Team members.
Let’s get started.
Creating a Heroku account
In this section, we will be creating a Heroku account.
- Head over to the Heroku website
- Click on the “Sign up” button in the top right corner:

- Which should open the Heroku Signup Page
- Complete the form. The Primary development language field is not that important right now, but select NodeJS to get started:
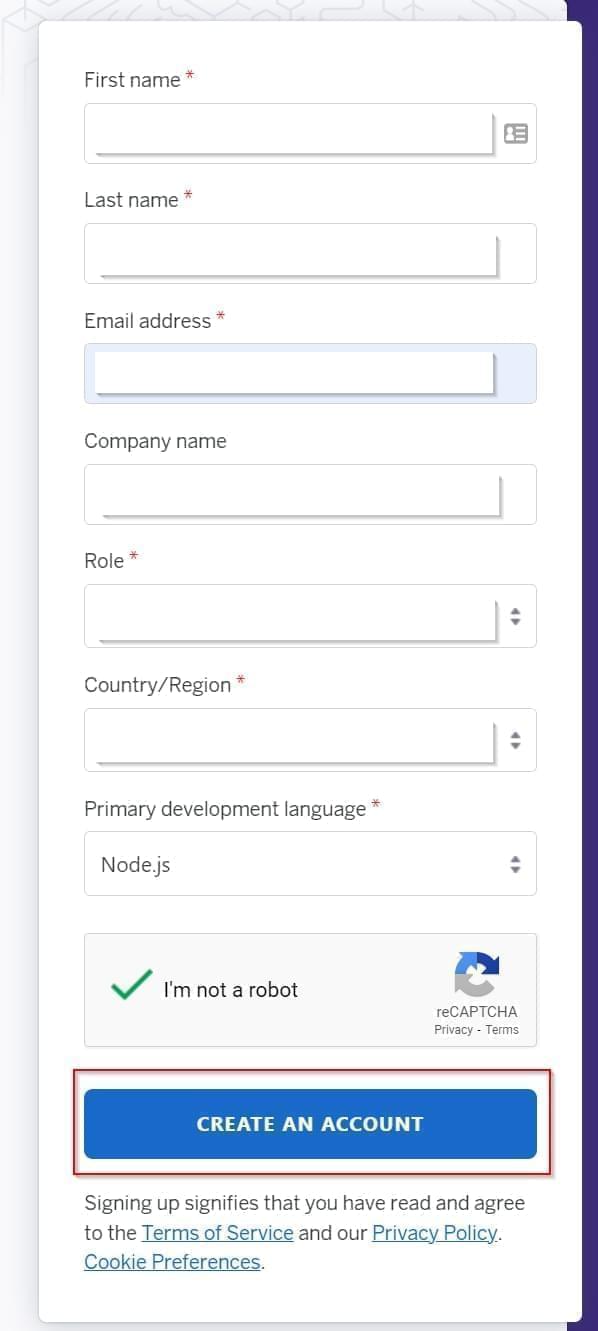
- Click “Create an Account”
- Heroku will now send you an email to confirm your account. Check your email (and spam folder), the email should look like this:
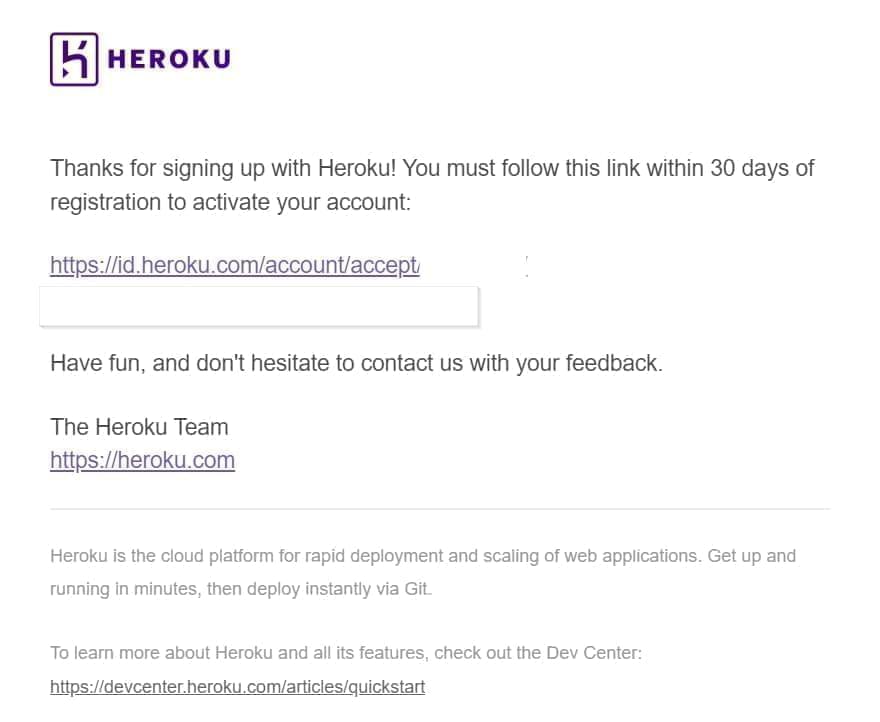
- Click on the link to validate your email.
- You should now see the message (below) on the screen
- Click on the “Click here to Proceed” button:

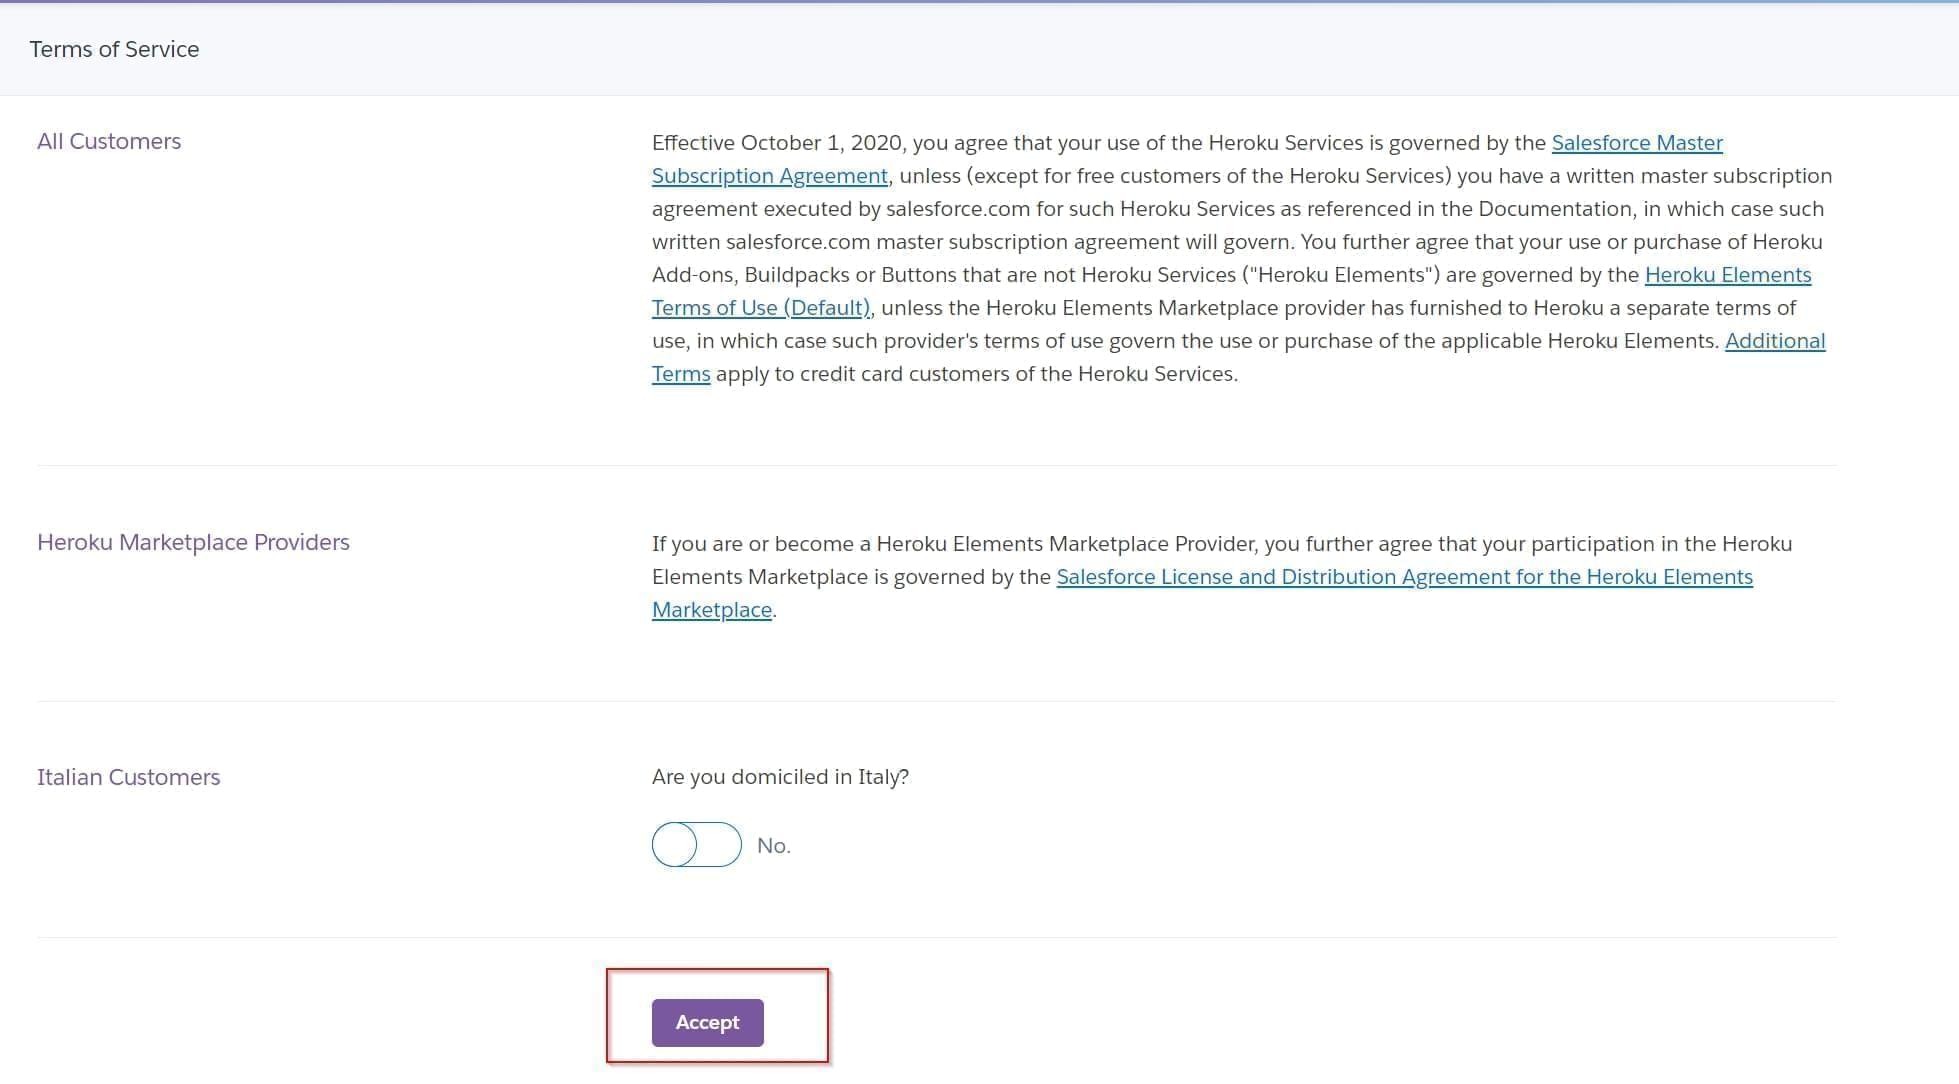
- Next, read the Terms of Service (like we all do), and click “Accept”
- You should now see your dashboard
- In the next section, we will be creating a Heroku Team
Creating a Heroku Team
In this section, we will be creating a Heroku Team. To be able to create a new team, you need to enter your credit card information, so have your credit card information close by.
Note: Each team can have a different Credit Card attached to it.
- Make sure you are on the dashboard screen
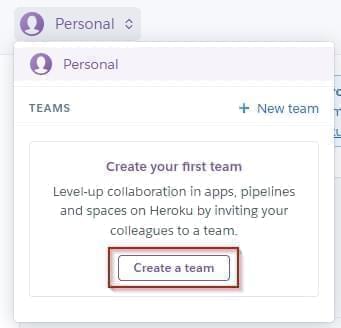
- You should see a dropdown like below:

- Click on this dropdown, and then select “Create a team”:
- You should now be on the Create New Team Page
- Pick an available team name (all small letters)

- Names can also include dashes:

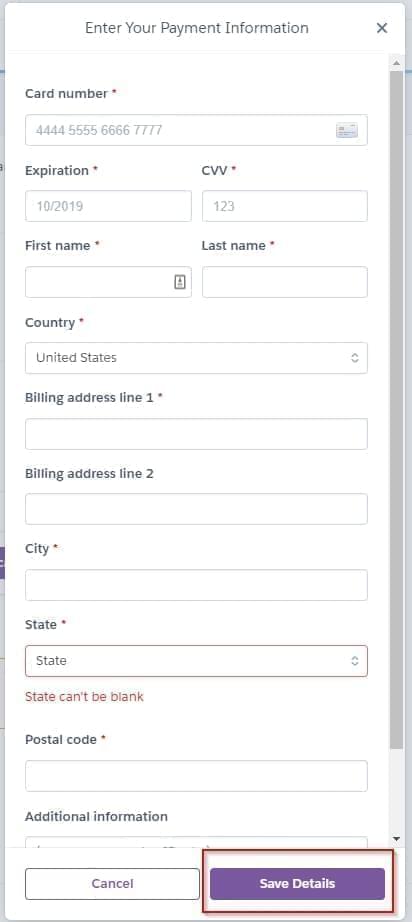
- You need to add a credit card to create a team, click on the “Add Credit Card” button:

- Complete the Credit Card form and click “Save Details”:
- If the name is available and a valid credit card has been entered, the “Create team” button should now be clickable. Go ahead and click the button

- You should now see your team’s dashboard:
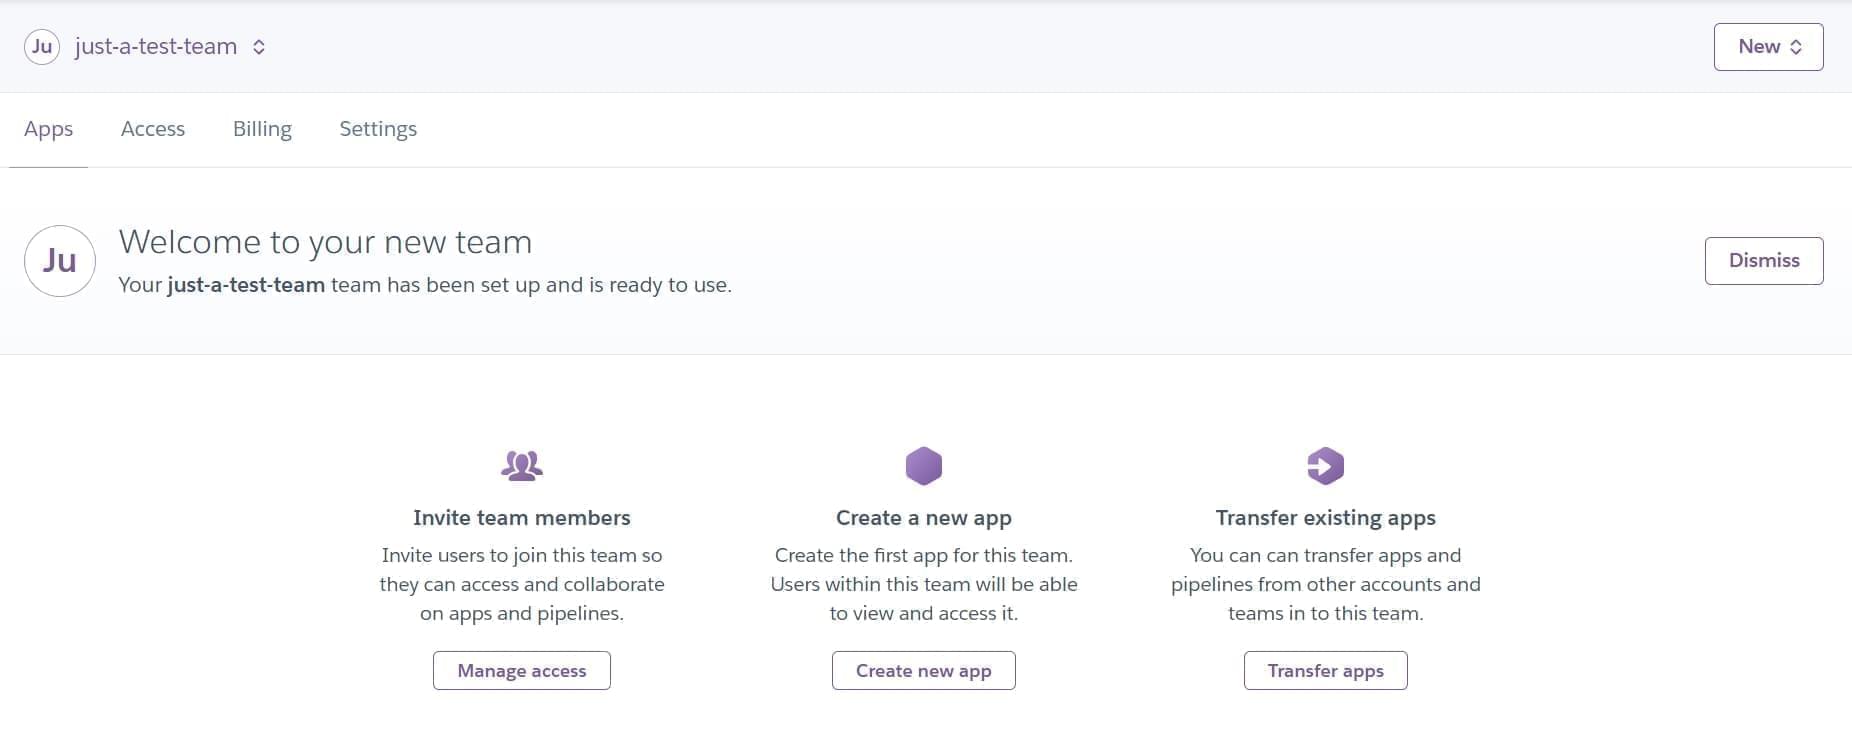
Next, we will add a Team member.
Adding a user to a Heroku Team
In this section, we will be adding a user to the Heroku Team
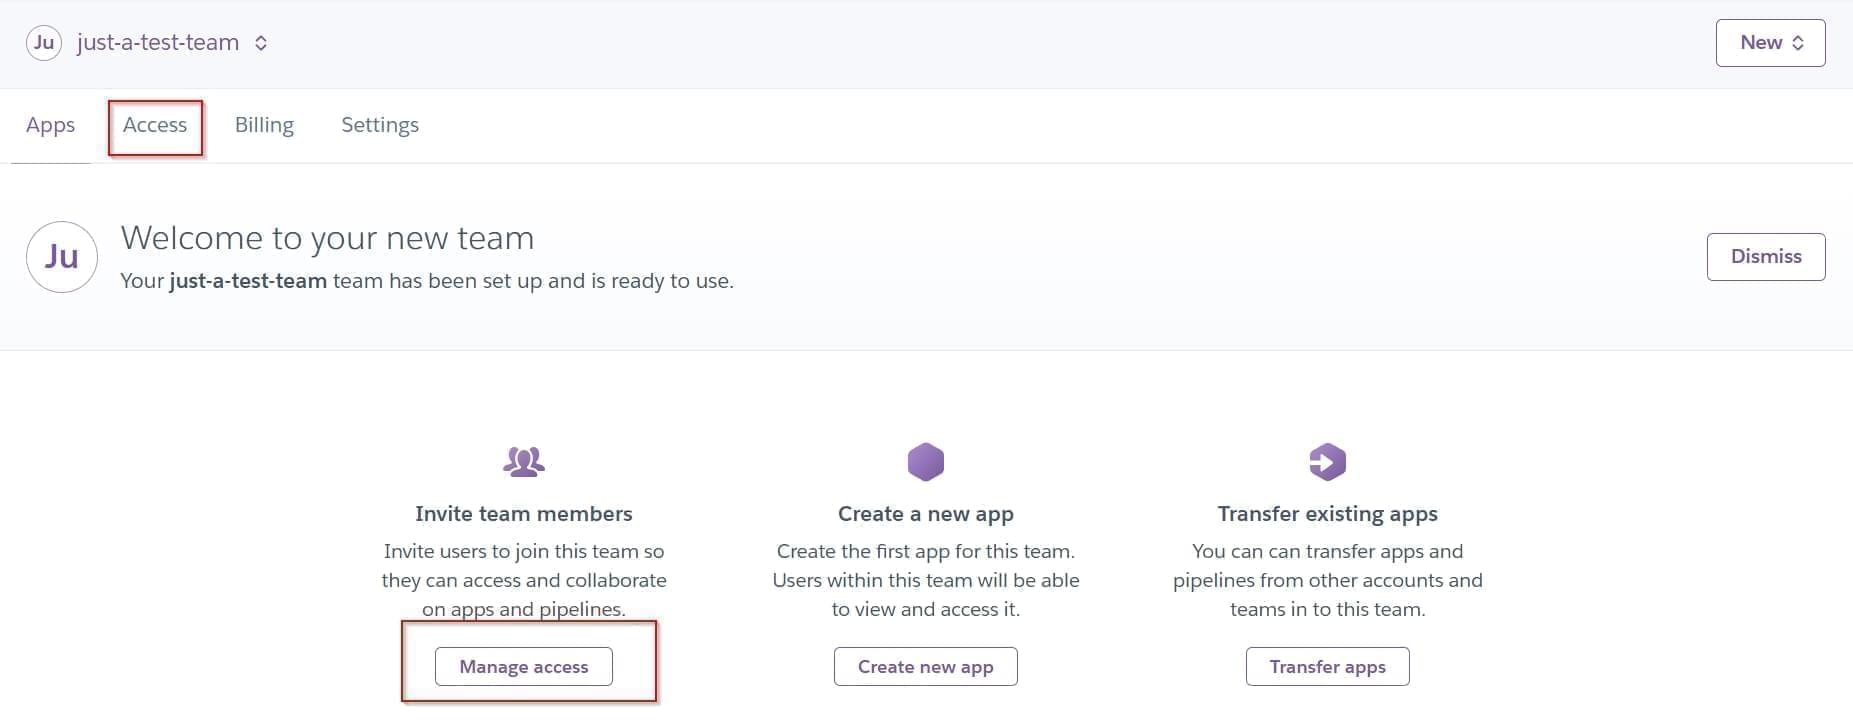
- Make sure you are in the Team dashboard screen (see the last step in the previous section)
- Go to the team’s access tab, by clicking on the Access button, or the “Manage Access” button:
- Click on the “Invite user” in the top right corner:
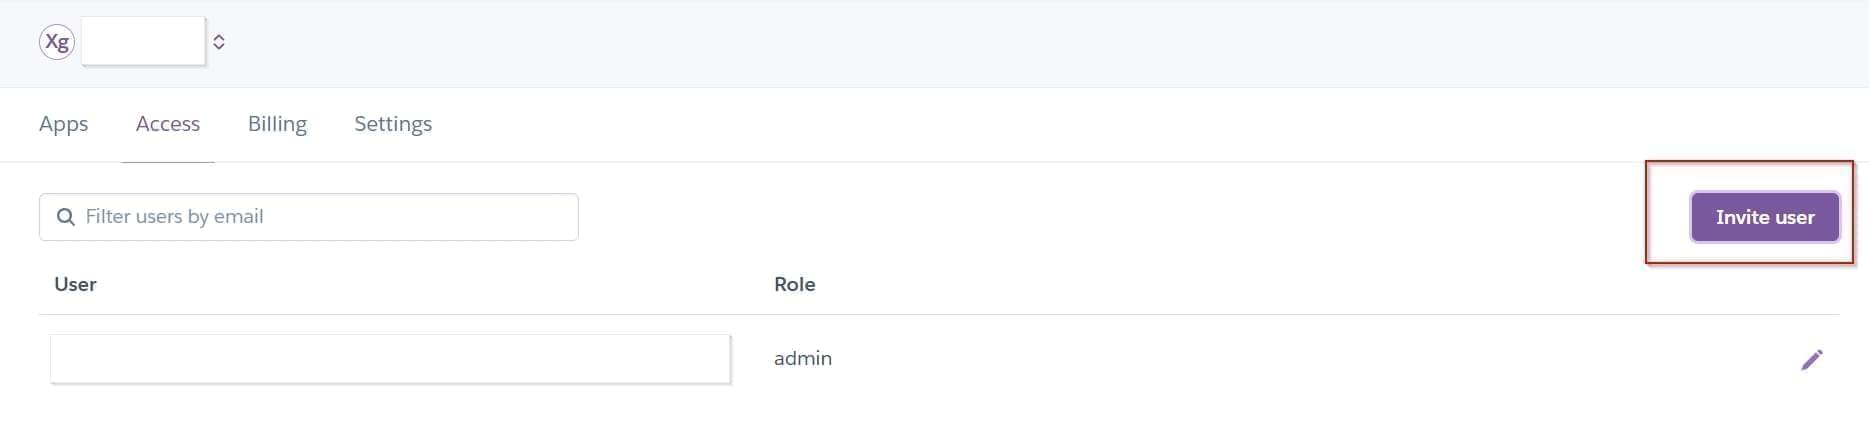 .
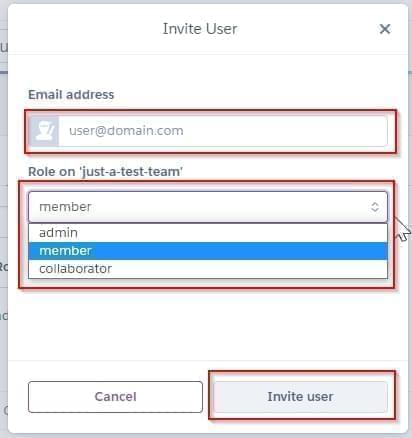
. - Complete the “Invite User” form, by filling in the email address of the user, selecting a role, and then clicking “Invite User”
- The user should now receive an email that they need to accept.
And that is it for this article.
Thanks for reading and happy GameDev!