
How to integrate Articy Draft 3 into Unity
Introduction
Please read our article on Articy Draft 3 if you are not familiar with it.
Initial Setup
Install the Articy Plugin
Download and install the Articy Plugin from one of the following links:
Configure Articy Export Rules
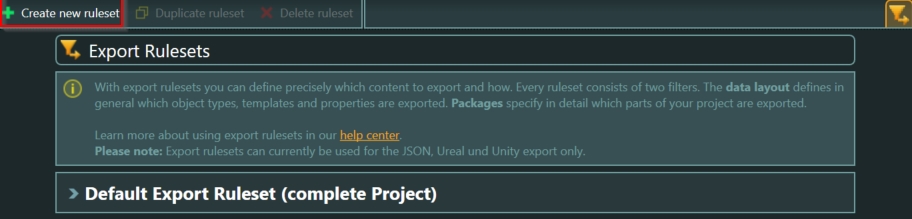
- Open Articty, and navigate to Project -> Export Rulesets
- Create a new ruleset, by clicking the “Create new ruleset” button:
- Give the ruleset a name, for example,
ProjectNameOnlyDialogue - Click on the Articy Logo in the top left corner, and then select Export, or you can press CTRL + SHIFT + E, to open the Export Window:
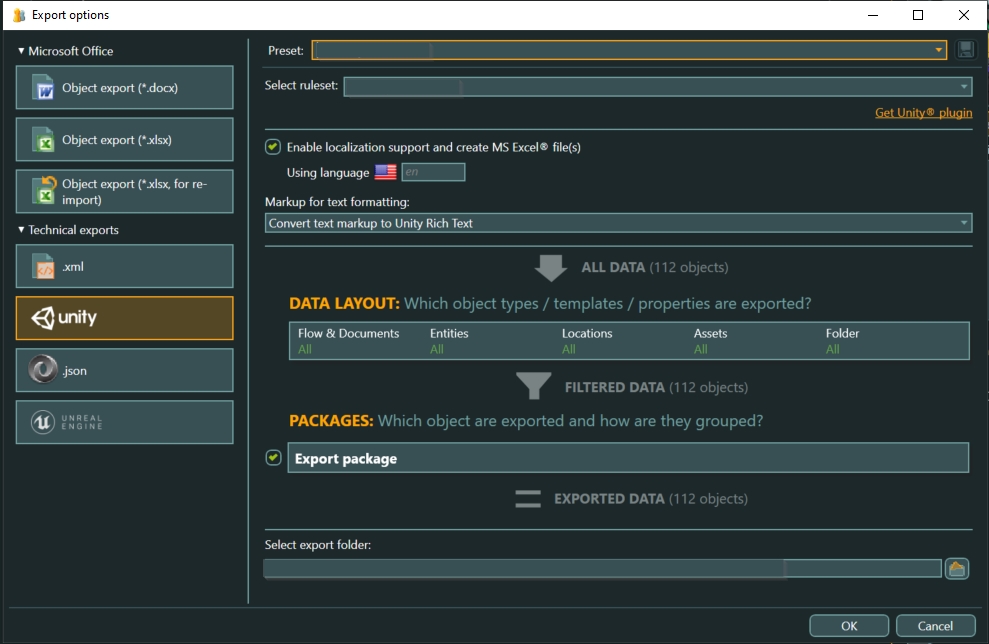
- Select the ruleset you defined above.
- Navigate to the Unity project. Note, the official Articy documents, mention that you have to place the
.articydraftu3dfile in the Assets folder, you can also create a new folder, named ArticyExports, and select that as your target folder. This way, all articy exports are nicely contained - Click “Ok”
- You should now see an export report (briefly, depending on the size of your project)
Unity Git Setup
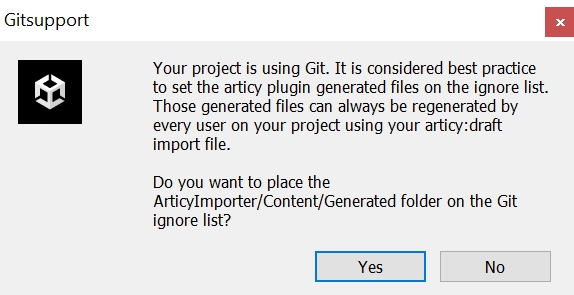
- Open your Unity project (the same project as the target above)
- If your project is using Git, which it should, you will be presented with the following window:
Narrative workflow.
With the setup now complete, you, or your writing team, can now write freely.
Tip: Press SHIFT + ALT + E to export quickly